1. Triangle distribution and why Y=-59 peaks
Minecraft does not roll diamond height uniformly from bedrock to Y=16. It samples the triangle distribution: two random heights in the allowed span are averaged, concentrating attempts toward the middle of the range. That middle sits deep—so while Y=16 is technically valid, it is extremely sparse compared with the deepslate band.
Bedrock and lava reshape what “usable density” means: Y=-59 is the textbook peak for maximum attempts per mined block. If lava lakes frustrate you, step your feet to Y=-57 and clear the layers above and below—still inside the steep part of the curve. Cross-check tactics anytime with our best Y-level page and plan routes with the Ore Finder.
2. Vein sizes, max blocks, and generation targets
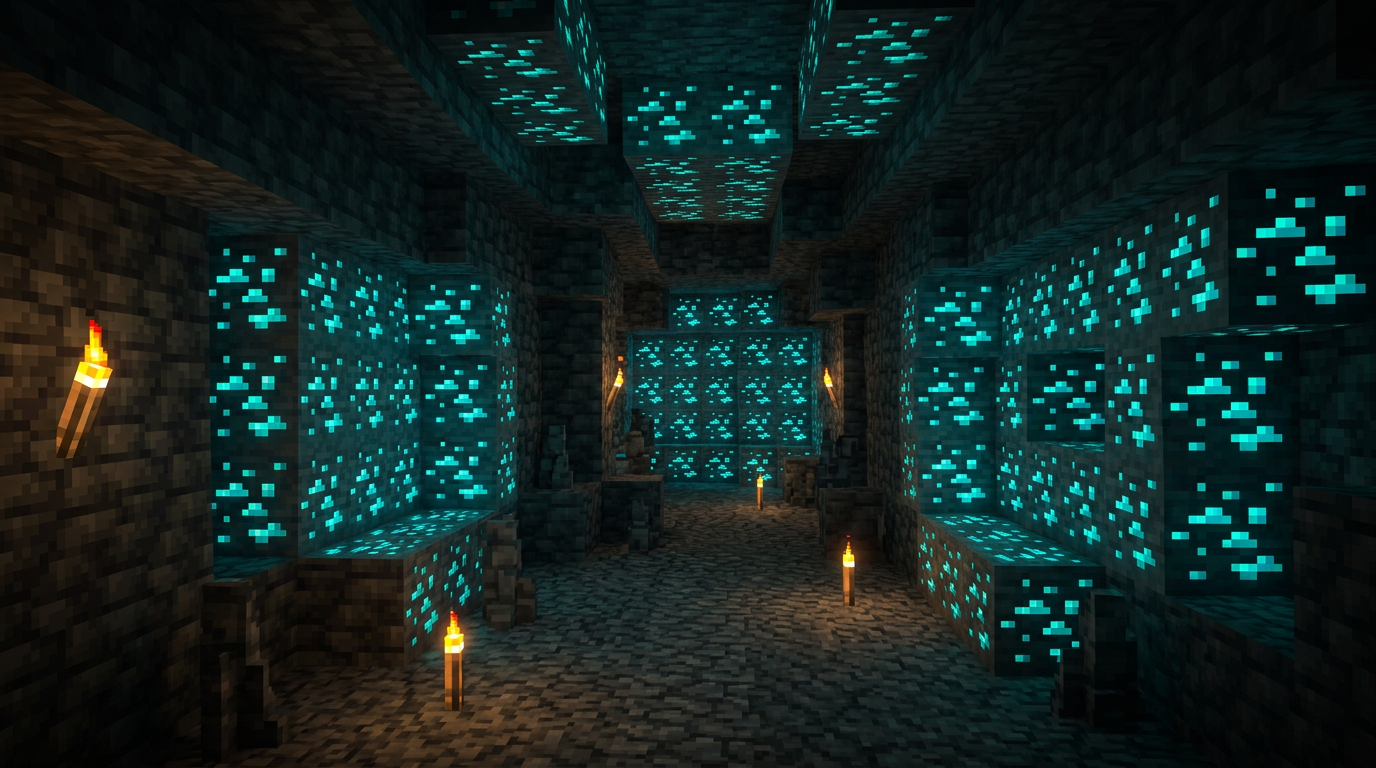
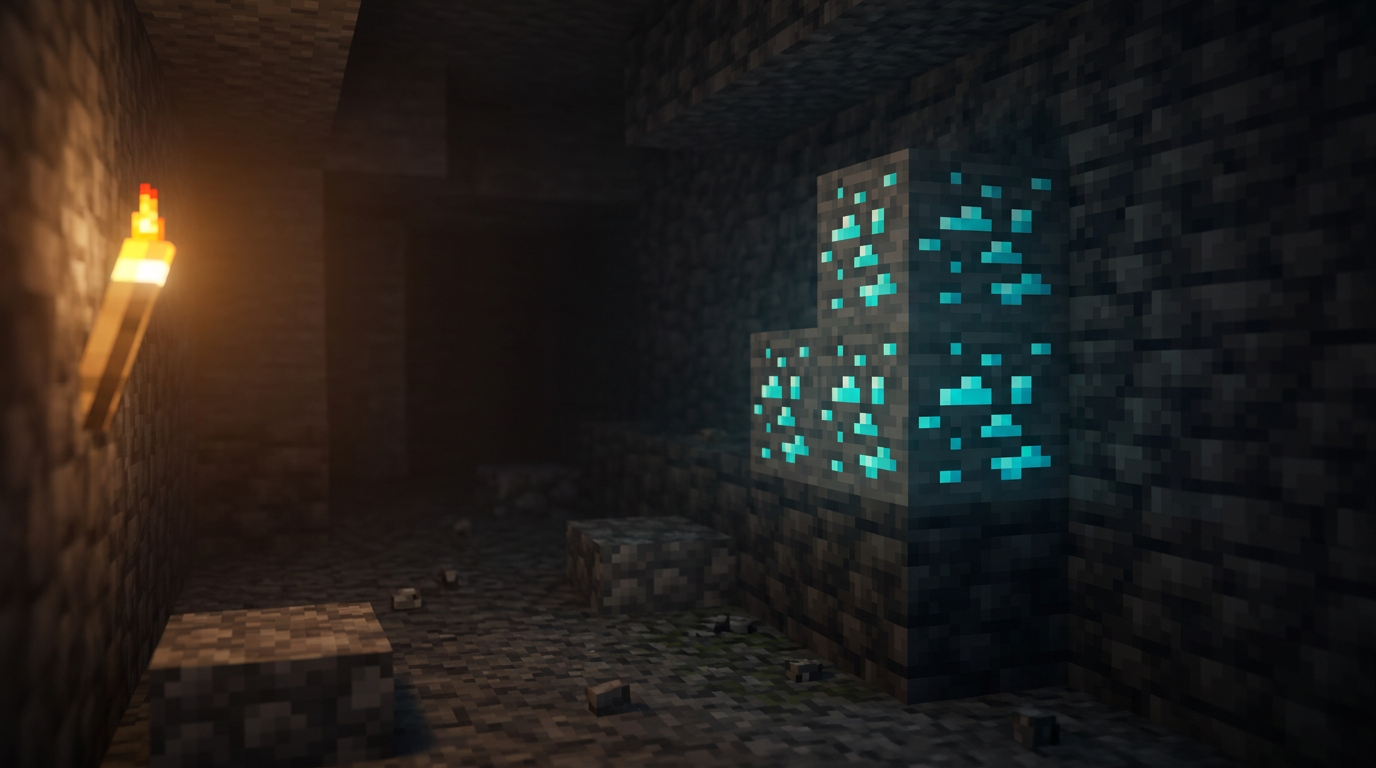
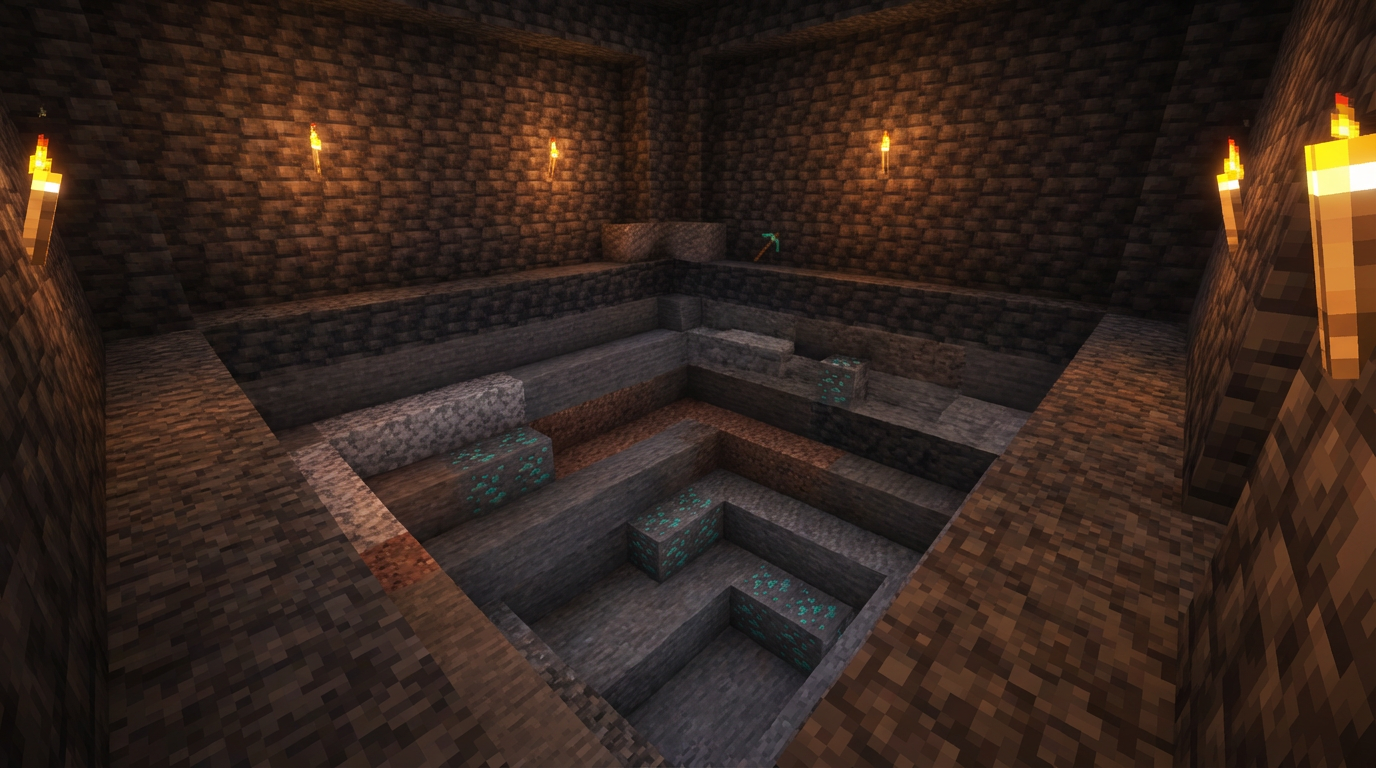
Diamond features are not one-size-fits-all. Small veins use size 4 and cap at 5 diamond ore blocks; medium placements use size 8 (up to 10 blocks); large buried-style veins use size 12 (up to 23 blocks). Generation can target stone or deepslate; below Y=0 you should expect deepslate hosts almost exclusively.
Because multiple attempts can fire per chunk, seeing two small veins adjacent to a medium patch is normal—not a world bug. If you want vein logic tied to farming tempo, read farming strategies and strip mining next; both assume this density model.
3. Air discard: 0.5, 0.7, and full buried rules
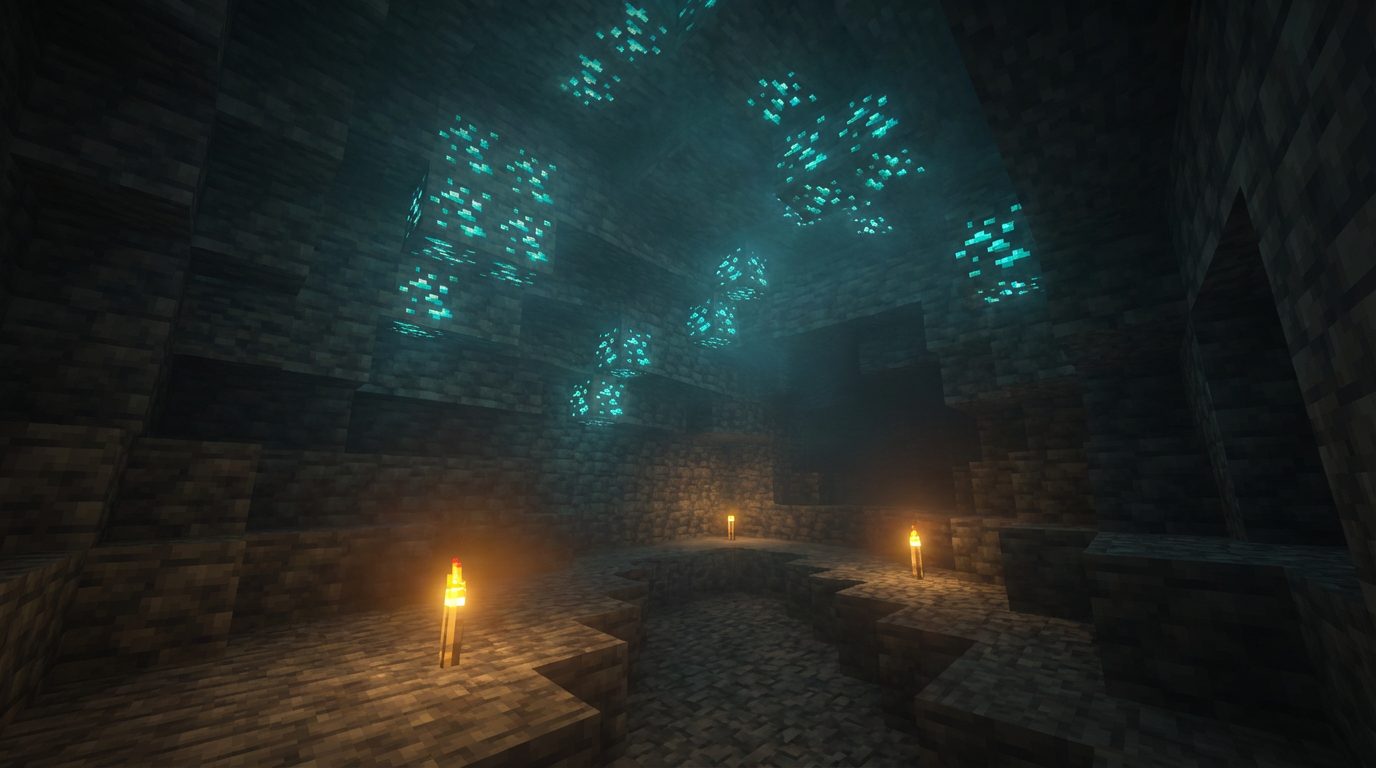
Air exposure is a deliberate filter. Small and medium standard placements have 0.5 discard probability when air is involved; large veins use 0.7; buried configs use 1.0, so those attempts vanish if they would touch open space. That is why cheese caves show fewer giant deposits than solid corridors at the same Y—the ore never committed to the chunk.
Practical takeaway: branch tunnels every two blocks at the mining layer maximize face area without skipping vein footprints, especially when pairing data from the diamond finder landing with manual digging.
4. Comparing Y layers for hourly yield
Time per diamond scales with blocks mined × break time × hazard downtime. Deeper bands reduce “empty vertical search” because attempts per chunk climb. Mid-tier negative Y still works, but you will erase more deepslate for the same diamond count than at Y=-59. Combine this with Fortune III so each successful block averages about 2.2× drops (up to 4 diamonds per ore).
Surface-adjacent layers (above roughly Y=-32) behave like statistical deserts for diamond—fine for copper or iron detours, poor for a dedicated grind.
5. Pairing distribution knowledge with seed tools
Density is per-chunk theory; your world’s caves delete some placements after the fact. The Ore Finder still helps because it predicts candidate centers from your Java seed—use it to aim long branch corridors instead of wandering. After you pick X/Z, return to vertical control: hold near Y=-59 unless lava pushes you to Y=-57.
For structured worlds (servers with locked seeds) keep bookmark notes aligned to season resets so you do not chase stale clusters.
6. Where to read next (mining + deepslate)
Density answers “where probability lives”; deepslate mining answers “how to break it quickly.” Silk Touch ore vaults and Fortune re-smash strats still obey the same height law—never confuse convenience tech with generation odds.
If you want a single primer, our diamond guide stitches routes, loot, and planner etiquette without repeating every numeric table on this page.
Diamond Density Checklist
- Peak Y: Aim near Y=-59; use Y=-57 when lava dominates.
- Range: Valid generation spans Y=-64..16 with triangle weighting.
- Veins: Sizes 4 / 8 / 12; caps 5 / 10 / 23 diamond ore blocks.
- Air rules: Discards 0.5 / 0.5 / 0.7; buried uses 1.0 full discard if exposed.